Showing posts with label hints and tricks. Show all posts

Thursday, October 18, 2012

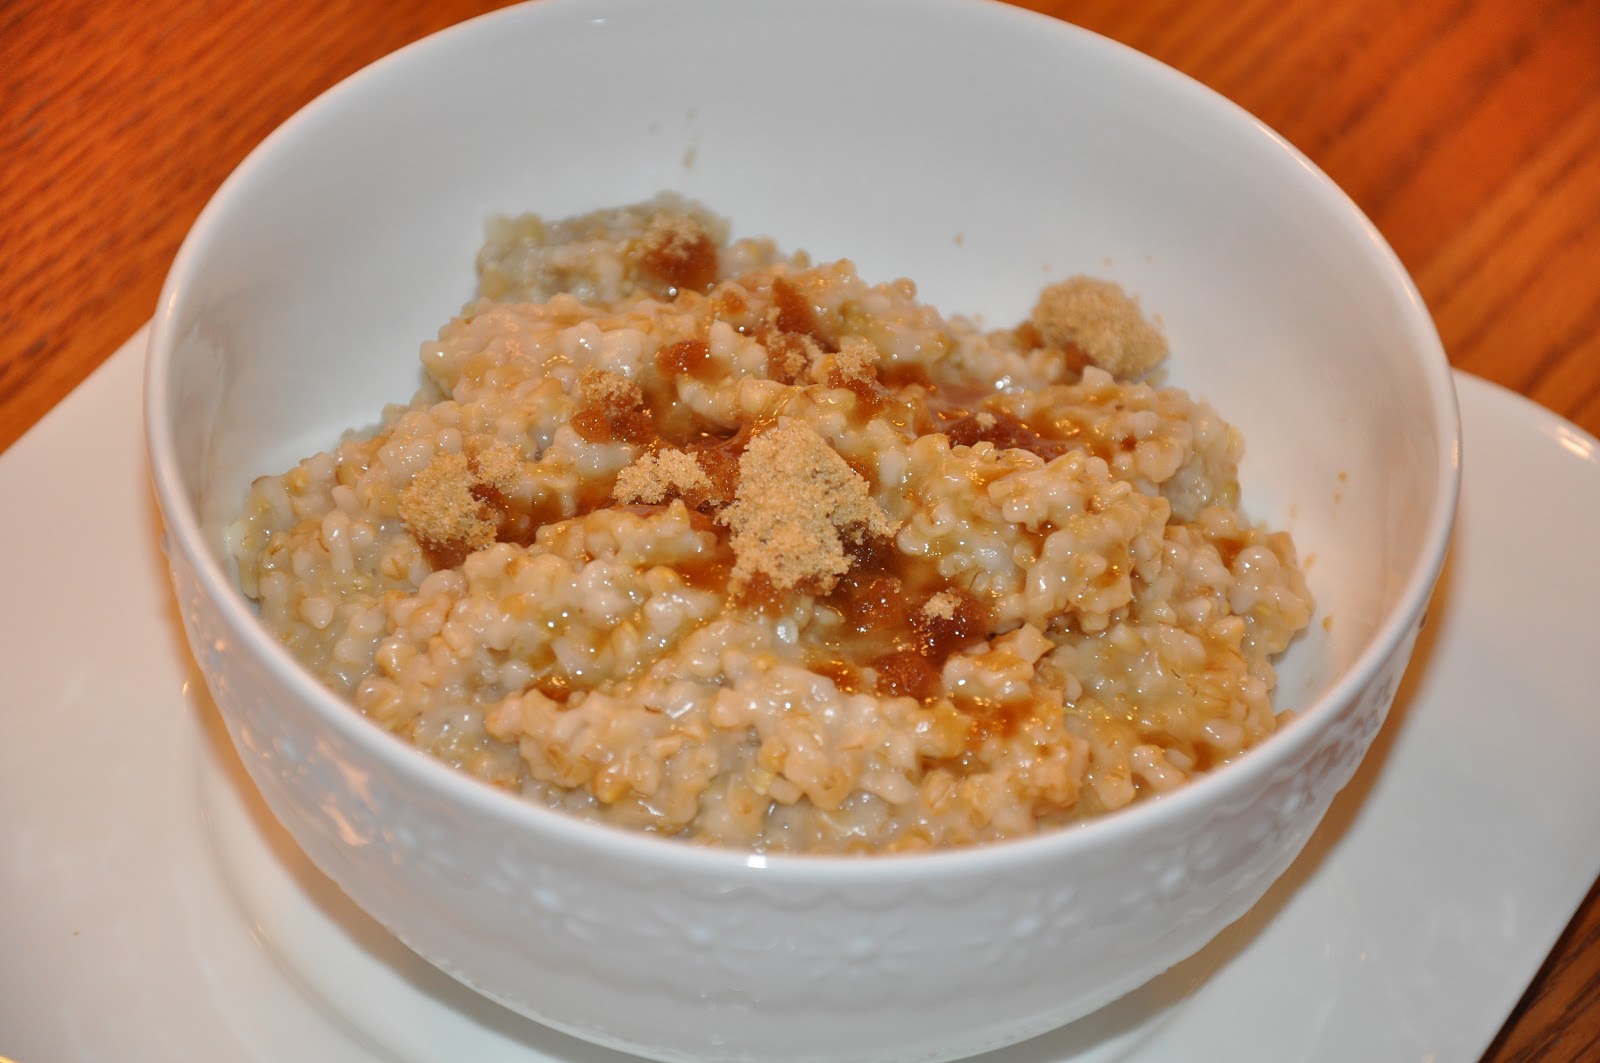
Embarrassingly Easy Morning Oats


When I read about this idea, it was like a revelation.  Why hadn’t I put two + two together and come up with this myself?  No matter.  Plain and simple, steel cut oats take FOREVER to cook in order to achieve the desired soft/chewy texture.  This does that, but without your constant supervision.

If you’ve ever cooked steel cut oats for breakfast - it’s like waiting in line at the grocery store.  It’s the price you pay for the food you like, and it ALWAYS takes longer than you thought it would.  And speaking of waiting in line - I try to make my best educated guess of which line will be shortest, only to have it turn out to be quite the opposite.


I’ve posted two other methods of cooking steel cut oats for breakfast (Overnight Crockpot Apple Cinnamon Steel Cut Oats, and 2-Minute Weekday Steel Cut Oatmeal)  They are both great, but this method is EASY.  Almost stupid-proof.

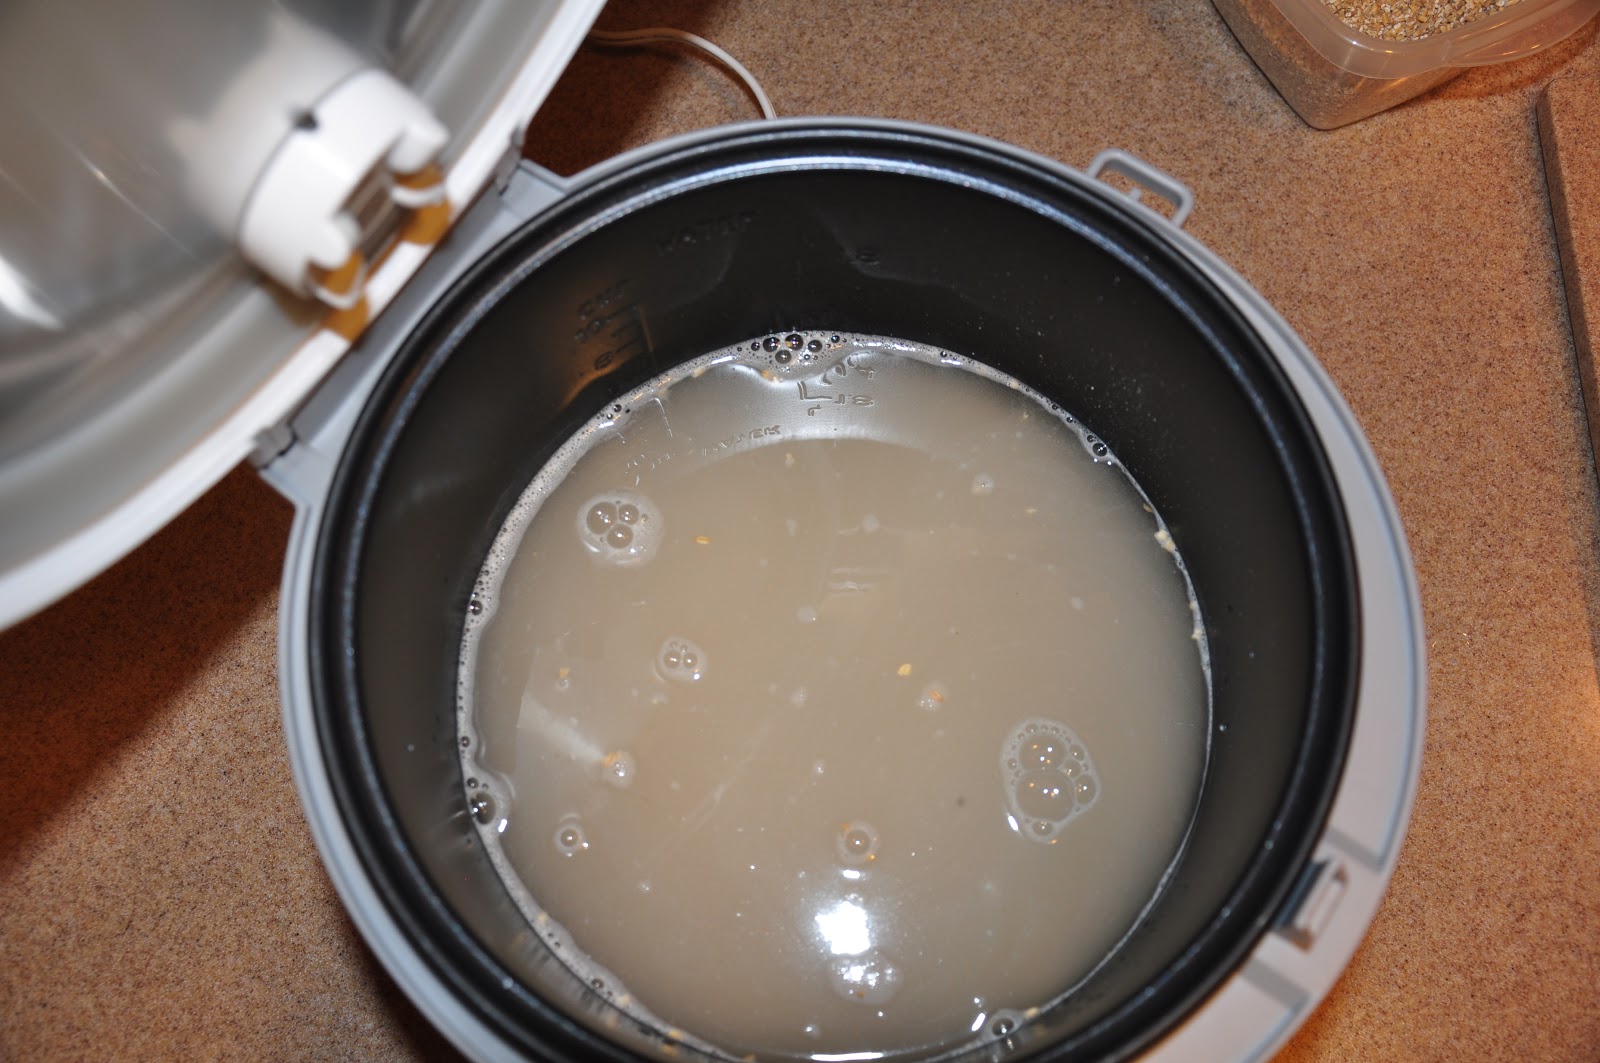
I have had a rice cooker for years now, and we still aren’t friends.  My biggest issue with it is that no matter what I do, I still have an overdone layer on the bottom, and sometimes the sides.  It spits and sputters, which is worrisome if I’m close enough to see it.  


For some reason though, with steel cut oats - these downsides are minimized.  Yes - there is still a layer of harder oats on the bottom and sides, but when you stir it all together that disappears.  It still sputters a bit of the oat-ey liquid, but not much.


The proportions given here worked great for me.  You’ll have to be your own judge with your specific rice cooker.  It still takes quite a bit of time for your bowl of oatmeal - mine took a good hour.  But it made a lot that I could refrigerate and reheat every morning for a week.

For the instructions and proportions, go to:
www.changeabletable.com


Saturday, October 13, 2012

Cake Pops - bite sized sweet treat for a buffet.


I am probably the last one to join the cake pop trend, but I’m glad I gave it a try before it goes the way of all trends.  I needed an easy-to-eat, bite-sized sweet treat for a baby shower a few weeks ago.  These were easy to hold one-handed, looked great on a buffet, and they were really delicious.


My daughters and daughters-in-law held a shower for my daughter Melyn - and we finally tried our hand at CAKE POPS.  (You’re probably wondering “where have YOU been?!”)


Bakerella started all this buzz a few years back and it seems to me that the trend isn’t falling off as quickly as I expected it to.  I’m guessing it’s probably because these little treats are a little easier to manage than an elegantly frosted cupcake in a buffet situation.  


Don’t get me wrong about cupcakes - I like them as well as anyone.  I just hate peeling off the cupcake paper and trying to maintain my composure as I try to take lady-like bites visiting in a group.  


Although cupcakes have been around a LONG time, I have a feeling their days of being the latest food trend are numbered.  Food trends don’t last long, especially nowadays - when things like Pinterest, Reality TV, and all-things PARTY change almost hourly.


Ever make you wonder “what’s next?”  Me too.  But before you think on that for long, try making these just for fun.  They are very easy to serve, and as long as you can take just one (or two?) - they are the perfect size for a lady-like treat.

You'll find detailed instructions for making cake pops, as well as both varieties of chocolate and vanilla cake filling with the cream cheese buttercream frosting recipe that holds it all together - at:
www.changeabletable.com. 


Monday, August 27, 2012

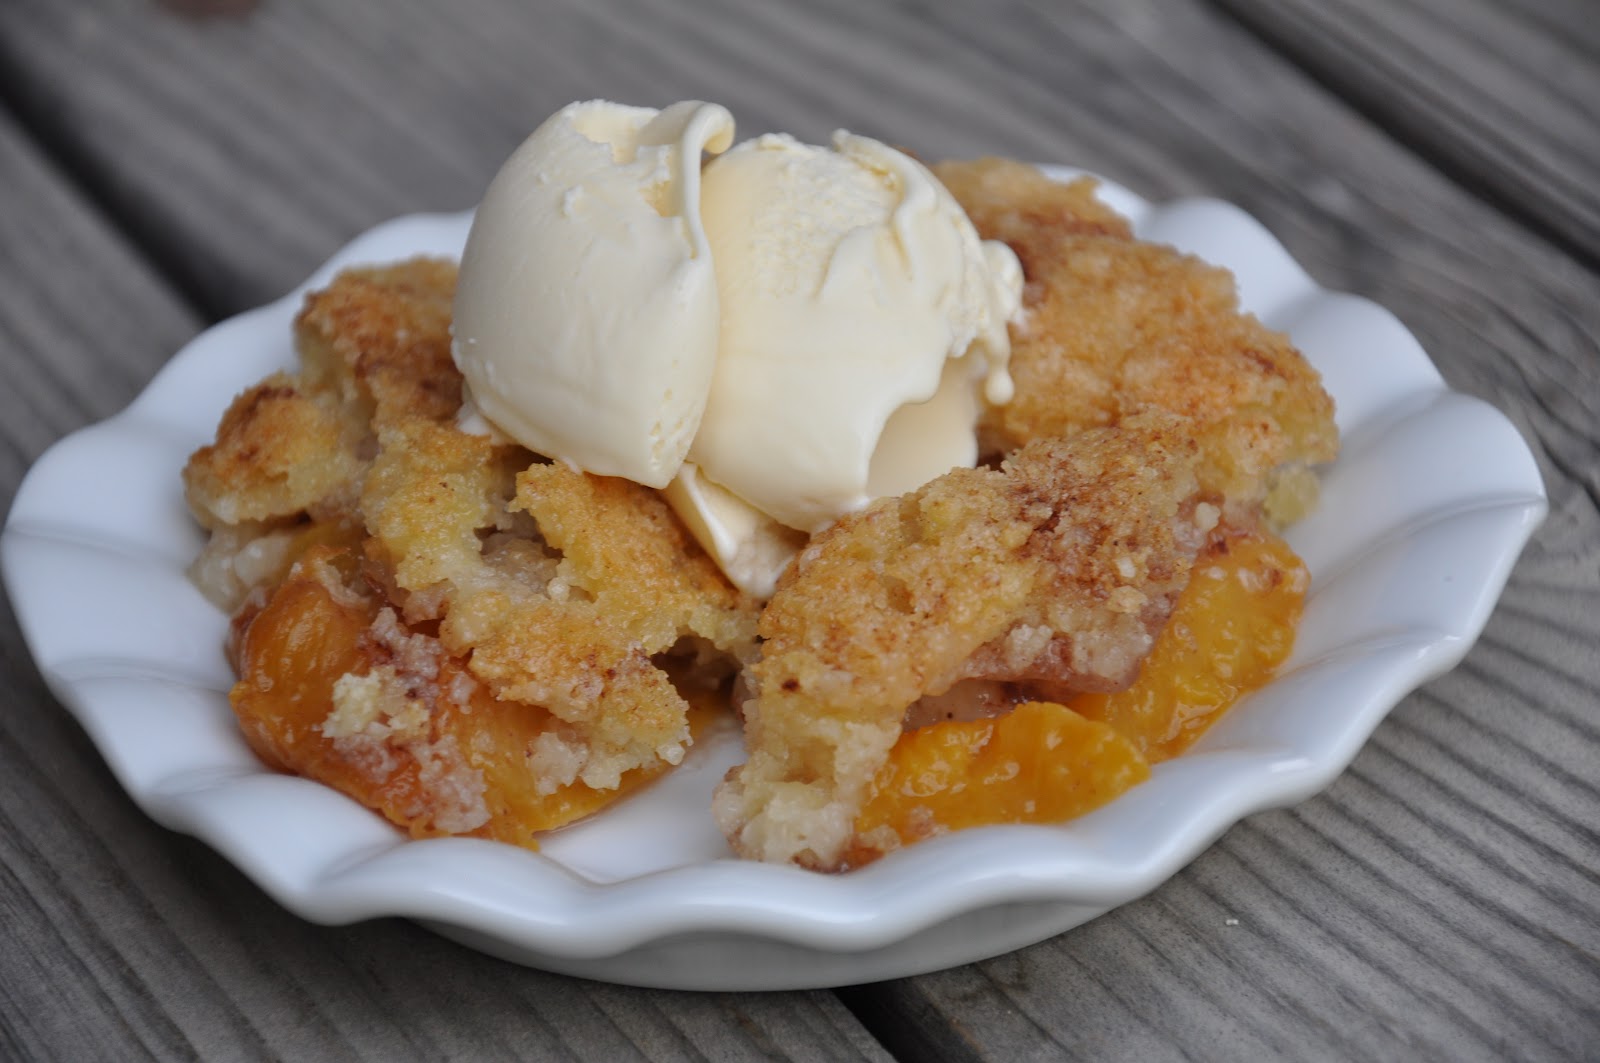
Peach Crunch


I make this recipe every fall after I finish bottling peaches - kind of a “second chance cobbler” of sorts.  No matter how careful and diligent I am - I always have at least 1 or 2 bottles that fail to seal.  This delicious recipe is one way to use up the fruit that didn’t make the grade.  Easy, fast, tasty.


Over thirty years ago we had a young family and my husband had his first teaching job at a middle school in Sandy, Utah.  Somehow he was the lucky person in charge of part of the faculty BBQ held right after school began in the fall.  The principal’s wife (Susan Sproul - who I’ve lost track of, and wish I could locate again...) brought this dessert to one of the very first BBQs that was held.  When I asked her for the recipe, she told me she uses it for those renegade bottles that don’t seal when she bottles peaches.  Ever since then, that is when I make it.


I’ve bottled fruit every year for the 35 years since I married, and there’s always a mishap.  The one I hate most is when the bottom of the bottle decides to crack - and it’s not a pretty picture that greets you when you take off the lid.  (My heart sinks when I see this)  


This is not your typical cobbler recipe where you make a batter or thick dough to pour over fresh peaches.  Simply dump a bottle of (fail-to-seal) peaches into a dripper pan (with only half of the juice), then proceed to make the interesting “crunch” topping.  

Very few ingredients required here... instant or quick-cooking tapioca and ground cinnamon are all you add to the bottled peaches.


The instructions for the topping will surprise you.  Did I mention QUICK?  (That’s important when you still have a bushel of peaches to finish)


Drizzle it with melted butter, then pop it in the oven.  


I would call it a cross between a cakey cobbler and a ‘crisp’ topping.  The most common mistake is to forget to sprinkle the peaches with cinnamon before covering the peaches with topping.  Can’t tell you how many times I’ve done that...


This is best served hot from the oven, but the longer it stands after cooling - the more crunchy the topping becomes.

Don’t forget a small scoop of ice cream, or a dollop of cream too.

The full recipe can be found at:
www.changeabletable.com

Tuesday, August 7, 2012

Melon Up... (While Summer Lasts)


Once the 'dog days' of summer arrive (you know what I'm talking about... HOT days, muggy nights, no end in sight) I have to remind myself that there are some things I will miss about this time of year.  One of them is melon... of all kinds, and not the flavor-less melon you see in the salad bars during the wintertime.  Melon is great right now - it tastes so real.


Saturday my daughter and I went to our (small) town farmer's market (one more thing about summer that I'll miss).  While we were strolling around the different vendors, one of them offered us a PLUG of watermelon.  As he handed it to us, I noticed the tool he was using to remove it from the melon.  I thought - hey... I OWN that thing!  It's a Pampered Chef Apple Corer tool - a slick little tool that has other uses than the obvious one... like cutting watermelon into a cool new shape.  

It's really self-explanatory... so I'm not going to bore you with detailed instructions.  The pictures speak for themselves.

Cut a cross section of (seedless) melon that is about the same
height as your apple coring tool.  Start around the perimeter
of the melon first.  Keep "plugging" away at it until you've
used most of the melon.  

The melon plugs are easy to remove by sliding the black plastic
section down the shaft.  Easy, peasy.

This is what's left.  These scraps can make another favorite...

BMP (Berry/Melon/Pineapple) Smoothies
Link is HERE.
There are several different types of this tool on the market - just google "apple corer" and you'll see what I mean.  Not sure if they work as well as this one (it 'ejects' the melon as you push the black slider the other way)

Now I just need to find a fun way to serve this... any ideas?  How do you tackle that 20-30 lb beast of a melon?

In case you're interested, here is a past post on an easy way to cut melon (besides the standard "cubes").  Literally takes ten minutes to slice your melon this way.

Watermelon Wedges 101
Tutorial is HERE.

A little nicer presentation than cubed, don't you think?

Wednesday, February 15, 2012

Cheesy auGratin Potatoes


This recipe incorporates a few tricks that keep the cheese from clumping and the milk/cream from curdling.  Both of these are common problems when making auGratin potatoes - but they weren’t an issue when I followed the (simple) directions.  It’s easy to trim the amounts for a smaller dish.


I wish my photos would do these rich potatoes justice...  Most of the recipes I post lately are made for Sunday dinner - just about the only meal where I have someone other than myself at the table.  I don’t like letting the food get cold while I try to adjust my camera/flashes/lighting, etc...  So - you’ll have to use your imagination as to how beautiful it looked fresh from the oven!

I love auGratin anything.  The problem is that when cheese & milk are exposed to heat for a long period of time - they almost always curdle and turn lumpy.  Potatoes need a long slow baking time - so I’ve never been able to achieve perfection - till now.

Trust Cooks Country to re-work this recipe and come up with a winner.  I had no idea that tossing the cheese with a tiny amount of cornstarch would prevent clumping while melting.  And cutting the heavy cream with just enough chicken broth kept it from succumbing to curdling - while adding great flavor.  

And... speaking from experience here - don’t fudge on the baking time.  Even though you can finish these off in the microwave if you’re in a hurry - it would be a shame, because that will burn the cheese.

For the full recipe, go to:

Thursday, December 22, 2011

Peeling Pomegranates... the clean way


Have you ever tried peeling a pomegranate without leaving tell-tale signs of bright red on your clothes and all over your kitchen?  This method is so easy, you won’t be tempted to spend more than you should on the convenient Pomegranate Arils you find in the warehouse & grocery stores.

Whenever I see the double-bowls of pre-seeded pomegranates this time of year - I always take one, get right up to the check out, and then think better of it and run it back to the shelf.  I have purchased them before, only to have them spoil before I can use them up.  They are not inexpensive, and that’s a lot of money to spend on a pretty red garnish for a salad, only to throw most of it away.

Yesterday I found pomegranates at the grocery store for $1.25.  I needed them for a salad (my all-time favorite salad... “Mrs. Mecham’s Salad” - the link is HERE)
I came home ready to wear the biggest apron I could find to keep from ruining my clothes.  I wasn’t looking forward to red fingernails (and not the pretty kind) either.  


I decided to do a search to see if there is an easier way to peel a pomegranate.  I found a method that sounded simple, and gave it a try.  Bingo - it worked like a charm!  

Pomegranates are a concentrated source of antioxidants - and they are just beautiful and a pleasure to find in a salad. Enjoy!

The easy instructions with photos are found at:


Friday, December 2, 2011

Frozen Herb Cubes


This really doesn’t even deserve it’s own post - but it is such a time saver, I had to share it.  When cooking for one, keeping fresh herbs on hand is always a losing battle.  More often than not - I end up throwing them out after using just a fraction of what I had to buy.  Freezing them is a great alternative.  


I’ve seen this idea off and on for years on blogs, and I thought it made sense.  But until I actually tried it, I couldn’t really appreciate what a time saver it is.  

I love fresh cilantro, and usually have a mason jar with about 1” of standing water in it that does a fairly decent job of keeping it fresh as long as possible in the refrigerator.  But inevitably, when I finally get around to using it - it’s always slimy and discolored.  For all my good intentions, I still have to make a trip the the store to pick up that ONE item.  


Cilantro (and other herbs such as parsley, etc...) are a pain to finely chop.  So I decided to use my blender to do that unpleasant task.  The worst part was pulling off just the leaves (without the stems attached).  Once in the blender, the rest was a cinch.

I use this method for chopping large quantities of onion and other vegetables that I need in a hurry.  Just use extra care not to over-pulse the blender, or you will end up with the beginnings of a green smoothie.

Once poured into a strainer and drained - it was so easy to put a spoonful of chopped cilantro in each cavity of a cheap-o ice cube tray.  

Pour cold water over the top of each cube, and freeze till solid.  Remove from ice cube trays and place in zip-loc bag in the freezer.

My favorite part is adding it in - without any chopping!


For simple directions on how to put together this handy convenience item - go to: