Showing posts with label outdoor cooking. Show all posts

Tuesday, July 2, 2013

Make-Ahead Breakfast Croissants


This is the ticket for those times you need a hearty breakfast - and you know you’ll be in a hurry.  These can be made the night (or a few days) before you need them.  So convenient to then warm on a baking sheet in your oven 1/2 hour before throwing them to your family as you jump in the car.  Done!


Necessity is the mother of invention - and this is how this “sandwich” came to be in our family.  I have made these for many years now - before the days of the Egg McMuffin & the CroissanWich.  I remember being surprised when I first saw them advertised.  


My husband always packed as much as possible into our family vacations.  We often lifted our sleeping kids out of bed in their pajamas and strapped them into their seatbelts as early as 4AM to get an early start on our trips.  Cold cereal in paper cups on the road was not very successful the first few times we did that.  I decided to try something I could heat up, keep warm wrapped in foil and then newspaper, and give to the kids with a napkin and a carton of fruit juice.  


I was surprised at how long these could stay warm - up to a few hours sometimes.  When placed in a dutch oven that was already hot - it could stay warm for several hours.   


My husband & kids used to ask me to make them to keep in the refrigerator so they could grab them and run to early morning practices, work, church trips - you name it.  They took them out of the foil - microwaved them for about 30 seconds - then put them back in the foil to stay warm.  


So when (this past weekend) we had our family reunion - I made them so we could have a quick (and fairly mess-free) breakfast on our way to have family pictures taken.  Have you ever tried getting 24 people all out of bed and out the door (well-dressed) AND well fed before 9AM?  That is what this breakfast sandwich is for.


I was the cook at LDS Girls’ Camp twice - and I made these ahead and kept them in coolers.  They came in handy on rainy mornings with hot chocolate, as well as taken on early morning hikes.  The heavy dutch ovens on camp stoves were perfect for warming them up.  


Although this doesn’t really qualify as a ‘recipe’ - I’m documenting it here for my kids.  They always ask for the details on amounts, etc...  Here you go guys!

For the recipe & instructions - go to:
www.changeabletable.com


Friday, August 31, 2012

Stacked Enchilada Dutch Oven Pie


Use your less-than-perfect garden tomatoes in an quick & easy blender enchilada sauce.  That sauce will be the perfect touch to make this stacked main dish - and it’s even better in a dutch oven.  Don’t worry though - no coals required.  Simply bake it in your oven - turns out fabulous.


I used dutch ovens (a LOT) when I had a young family and we left late in the day to find a camping spot.  I always used my own (kitchen) oven to bake a dutch oven meal, and then I’d wrap it in newspaper & blankets in a big cardboard box.  We would put it in the back of the van and drive hours before arriving.  After setting up the tent trailer and getting things situated - our meal was hot and ready to eat as it got dark.  Good memories.

A lot of people are traveling this weekend, being Labor Day.  This would be a great meal to start in the afternoon, wrap up to travel, and enjoy late in the day.


The best thing about this is the sauce.  I have a bunch of tomatoes all trying to ripen at different stages right now in my garden.  There are never quite enough to bottle all at once, however.  That’s a bit irritating, because (really) how much taco salad can you eat during August and September?  I hate to have them go to waste, and all my neighbors are trying to give theirs away too.  So... this sauce was born.  I’m really happy with it - and I used up all my ugly tomatoes.  You know what I’m talking about - the ones with blossom end rot, that split halfway open, or were hidden under all the others with half the tomato soft & unusable.  


I would imagine any blender could accomplish this, but I used my high-power one.  I didn’t blanch them or remove the skin, just the bad parts.  I threw them in - skin, seeds, and all.  I used the “whole juice” setting and it ended up a bright red tomato juice.  From there I adjusted the recipe for Enchilada Sauce (minus the can)  Running it through the “soups” cycle a few times - it came out hot, thickened, and ready to use.  Awesome!


From there, I used a 12” dutch oven to brown the meat & onion.  If you don’t have a standard dutch oven, use any heavy pan with that diameter.  It’s great you don’t have to clean out the pan - just remove the browned meat and it has enough fat coating the bottom that it’s ready to stack the pie at this point.  


I tried this with layered corn tortillas, and it was really good.  I prefer using flour tortillas because they don’t fall apart and disappear into the pie.  As you can see from the photos, flour tortillas keep the pie in one piece to easily slice and serve.


This really exceeded my expectations...  An easy, one-pot meal - and uses your garden tomatoes as a bonus.  You'll find the complete recipe at:
www.changeabletable.com
  

Tuesday, August 16, 2011

Smokeless S'mores


If you are still in love with the official “S’mores Experience” - disregard this post.  After years of fishing my little guys out of a firepit and wondering which kid will lose an eye from a stray roasting stick - this recipe looked really GOOD.  Another advantage - the first bite doesn’t shatter & ooze.


I like a perfectly browned marshmallow straight from being roasted over hot coals.  Nothing like pulling off that crispy outer shell, then returning what’s left to the fire once again.  One of my favorite things to do is letting my grandkids roast marshmallows in my wood-burning stove.  For the most part - we stay smoke-free and enjoy all the benefits when roasting indoors.

Sometimes though, I crave all the good things about S’mores - but jumping through the hoops isn't worth the hassle.  I’ve seen just about every variation of S’mores imaginable - and they are good, but none are quite THIS good.
Bake in parchment lined pan for easy removal & cutting.


This is a combination of a soft, chewy graham cracker cookie - topped with Hershey’s famous chocolate bar, marshmallow creme, then finally garnished with tender graham cracker cookie nuggets.


I didn’t expect to like these much at all.  I’m pleasantly surprised.


No sticky fingers, sooty faces, pine gum on your pants - you get the picture...

For the recipe, go to:


Tuesday, August 17, 2010

Garland Salmon w/Butter Sauce


If you’re looking for a simple (yet fantastic) way to prepare salmon for one or two people - give this a try.  The sauce stores well in the refrigerator for last-minute throw-on-the-grill convenience.


Several days ago I asked you (HERE) for salmon recipes.  One reader (thanks Nedra!) responded with this one.  It is used at the Garland Salmon Festival to raise funds for the fire station.  I’m not sure where Garland is, but I’d love to visit their Salmon Festival.  Nedra added in her comment that her son (NOT a fish fan) asked for seconds when he sampled it. 


Our ‘box of gold’ arrived from Juneau, Alaska a week ago - packed in one pound packages on ice.  I must say this is the most expensive souvenir I’ve ever purchased, (but it won’t gather dust either)


Nedra mentioned that the salmon is grilled first, and the sauce is poured over after cooking.  That sounded delicious, but I didn’t relish the idea of standing outside in 100° weather (I had just arrived back home freshly chilled from Alaska you know) - so I opted to bake it in the oven as I do my favorite salmon recipe (that link is HERE).  I drizzled a little of the sauce over the salmon before cooking, then really doused it after taking it from the oven.

This is a simple and unique sauce.  You would never guess from the non-gourmet ingredients that it could taste so good.  (And a little butter doesn’t hurt either)  Next time I’ll bite the bullet and stand outside to grill it - but it was fast and easy this way.
These proportions make a LOT of sauce, which I made with one-fourth the quantities listed in the recipe... 


If you'd like to share your favorite salmon recipe, feel free to email or comment and I'll give it a try.

For the recipe, go to:

Tuesday, July 20, 2010

Homestyle Burger Buns - worth the effort...


One of the reasons I don’t thrive on fast food is because the hamburger and hot dog buns disintegrate once the toppings hit the bread.  I’ve never had buns I liked - either they are too tough, or too pillowy soft.  I was happy with this recipe when I took the first bite.  It holds everything together without stealing the thunder from the burger & garnishes.


When was the last time you went out for burgers and came home raving about the burger BUN?  It’s never happened in my family - but there’s always a first.  

I made these to go with the mini-burgers/sliders from yesterday’s post (HERE).  I had stored the leftovers in the refrigerator - top side down to keep the bun from turning soggy.  My daughter and husband arrived here after midnight last weekend and discovered them.  She made a point of telling me how much they liked the BUNS.  That’s saying something.

This isn’t a ‘secret ingredient’ type of recipe - just basic bread making is all that’s going on here.  Yet, somehow this simple combination is just right for burger buns.  The original recipe (at kingarthurflour.com) directs you to flatten each dough ball to a 3-1/2” disc for buns.  Since I was using them for sliders (mini-burgers) I left them alone when rising - and they worked perfectly with a slightly higher top.

If you can’t stand to bake in this hot weather - make a bunch and freeze ahead.  If you are serving a smaller group, it’s easy to half the recipe.  

For the full recipe, with photos & directions - go to:

Saturday, June 5, 2010

Fail-Proof Feast in Foil.


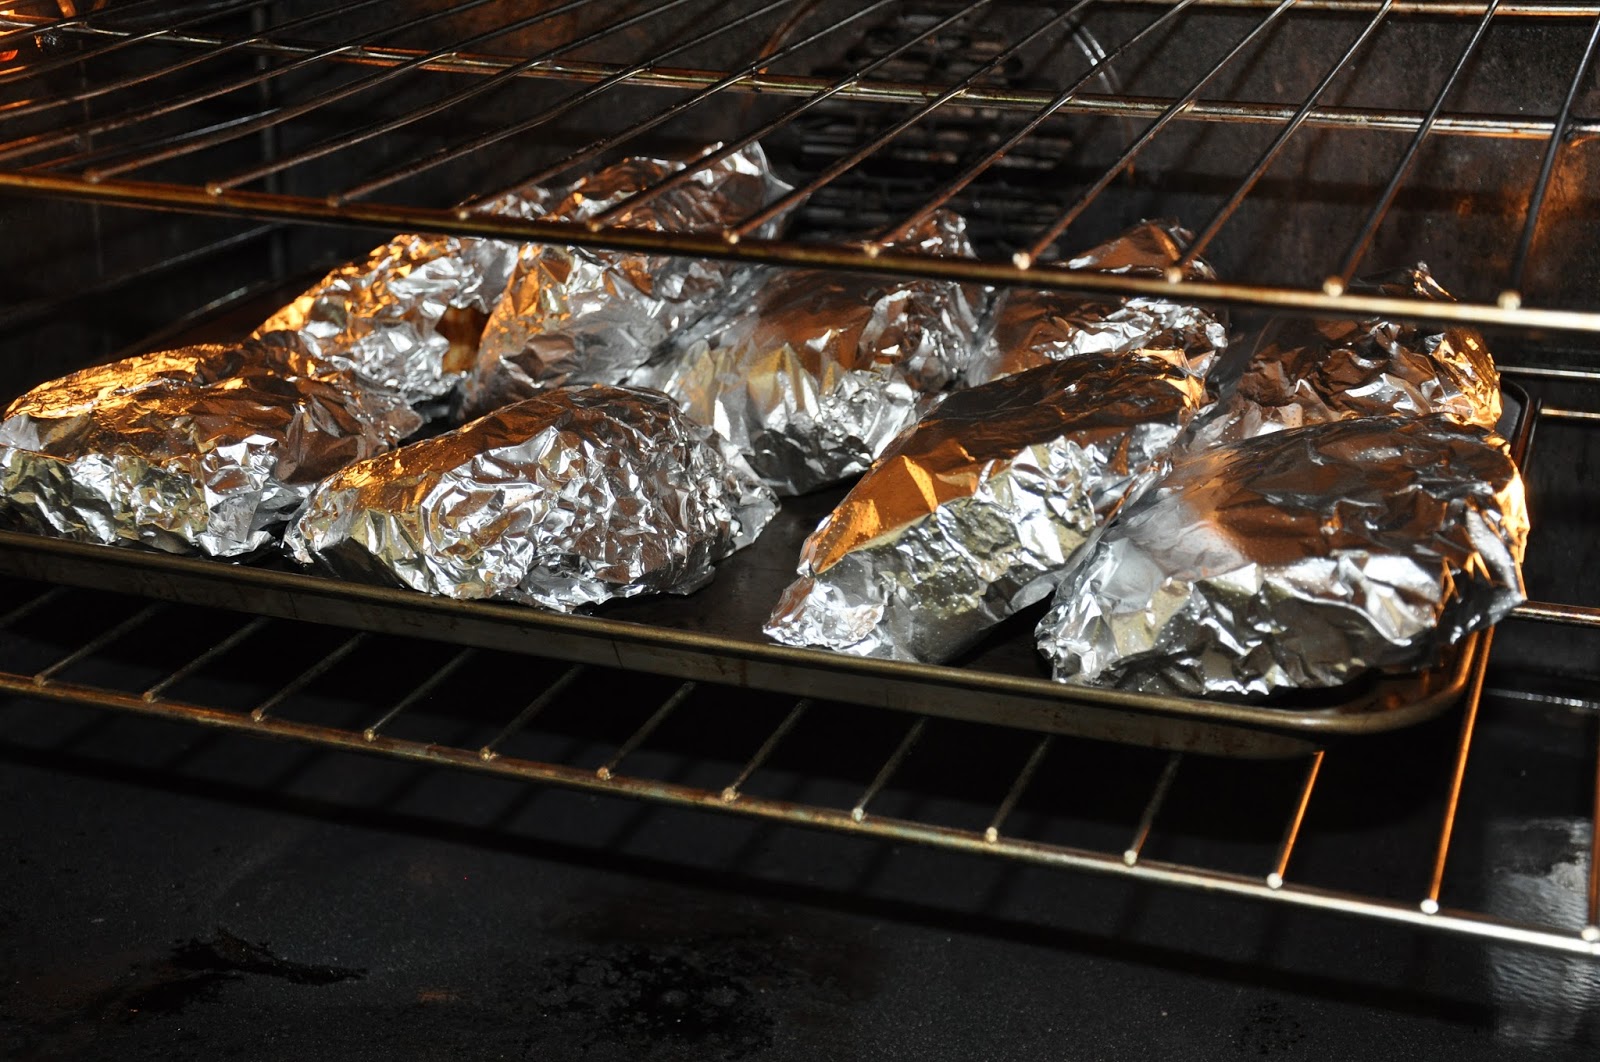
The “Tin Foil Dinner” has been a standby for scout camps, family vacations, and girls camp since cooking in aluminum foil was deemed “acceptable” in the 1940’s.  Make one this way, and you’ll be the envy of the great outdoors.  Yours is perfectly done while everyone else is waiting for their foil packet to char over the fire.

Have you ever had a child come home with a list of items they will need for a camp or youth activity - that includes that term “Tin Foil Dinner”?  Whenever I saw that,  I found myself muttering (under my breath, of course) grrrrrreat.  I used to view it as a cop-out when my kids were asked to bring the dreaded dinner in foil instead of paying for a meal.  I thought it was such an inconvenience.  

My husband was a scoutmaster for several years and he had some pretty crazy stories about the sad foil dinners he saw show up at scout camps.  That’s what motivated me to think of a new way to get it done.  

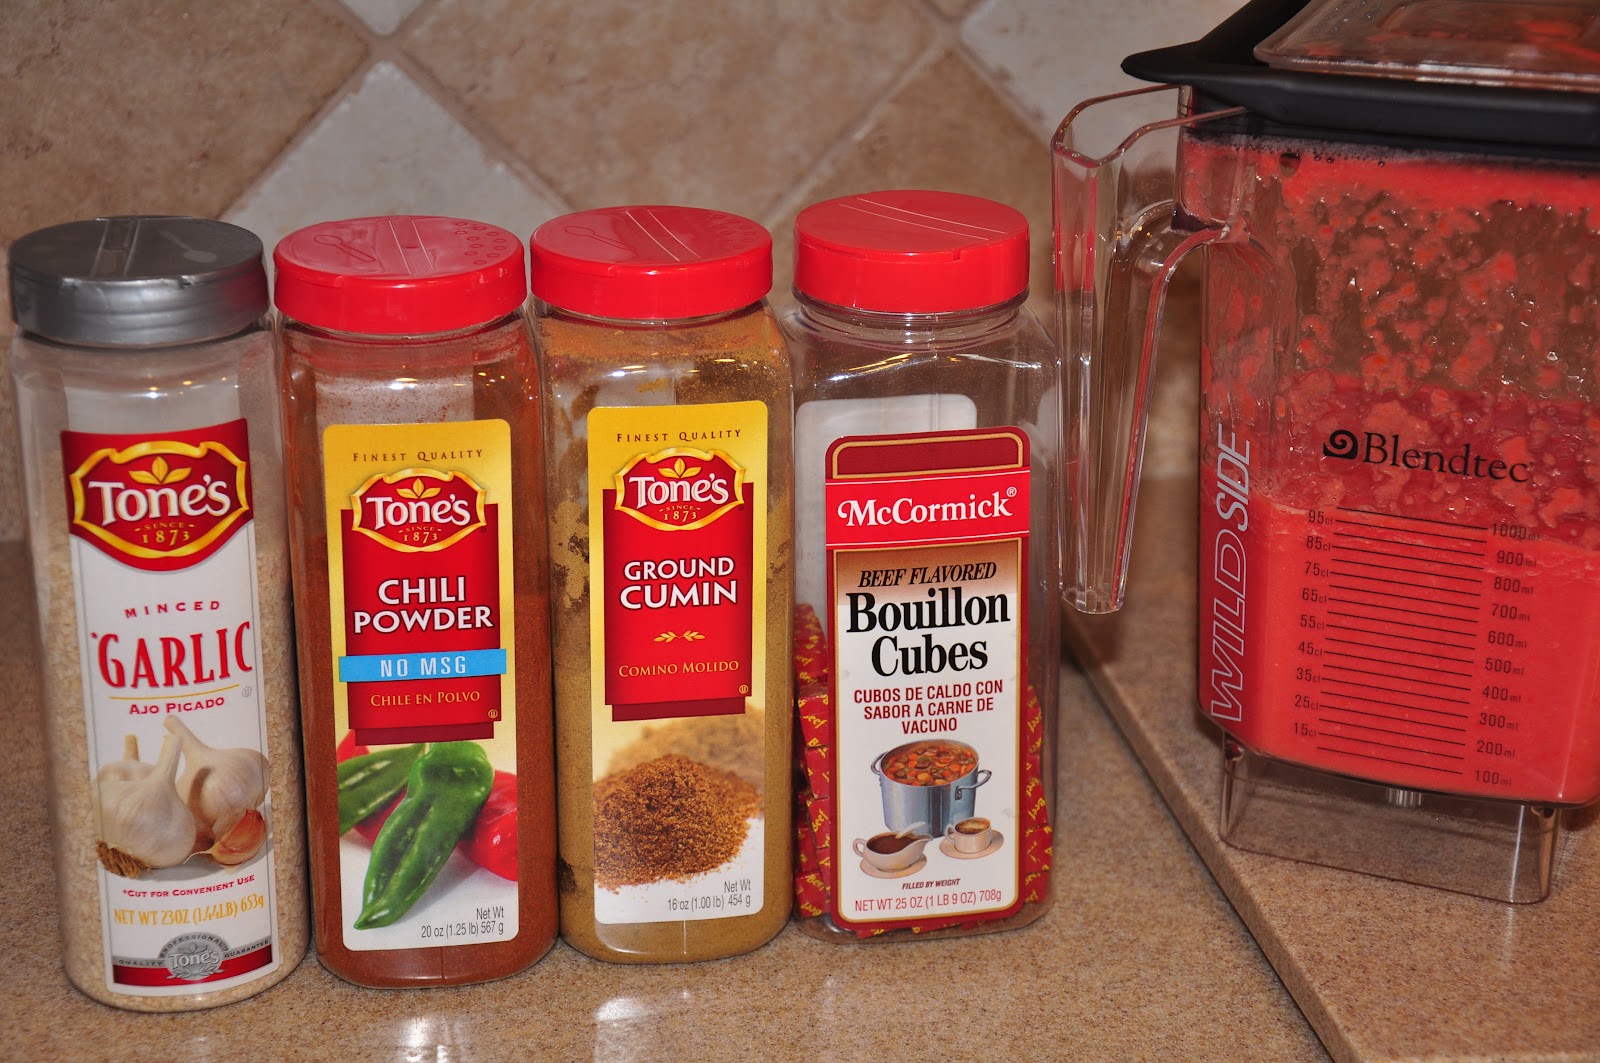
Look at it this way - the rest of the family has to eat also, right?  Foil dinners can help you multi-task, and take care of two meals at once.  I use part of a batch of our favorite stew for the foil dinners, and the rest for who is left eating at home.  

I start by making a batch of Hunter’s Stew early in the day.

Once it is finished, I put the foil dinners together in a way that saves a lot of grief for everyone involved.  I've also included a list of suggestions for other foil-packet type dinners.  All you need to add is the wilderness, a starry sky, good company, and a blazing campfire.


For suggestions, directions, and detailed photos of how it's done - go to:

And... just a little FYI:  In 1919, the U.S. Foil Company, parent of Reynolds Metals Company was founded in Louisville, Kentucky to produce lead and tin foil. Then in 1926, the company entered the aluminum business, rolling aluminum foil for packaging.  That is when "packet" cooking began.  Many of their frequently asked questions are answered HERE (such as "should I use the shiny or the dull side?")