Showing posts with label Kids. Show all posts

Monday, September 19, 2016

Canning Season


Aryn here... 

Canning season has officially arrived! I have a love/hate relationship with canning season. I love my storage room shelves filled with beautiful bottles of fruit lined up and ready to serve with meals.  But on the other hand, I hate the sticky floors and backaches. I somehow forget about those details, because I end up doing it every year!


Canning season seemed even longer when my kids were younger.  But now they're getting older, they are becoming great helpers.  Sticky floors don't matter nearly as much as seeing them feel important and learn to get a project done - start to finish.  They also realize the amount of work it takes to get food on the table (besides having a little fun along the way - love their "fruity" smiles?)  Here are a few ways to include your kids in the process of preserving food!

Monday, September 23, 2013

Hot Dogs In the Crockpot (?)


Remember the hot dogs you could buy at 7-11 or other convenience stores?  The ones that slowly simmered on the heat rollers in the glass window of a hot box?  These are every bit as good (or better) and are so convenient for a crowd.  They are gently browned on the outside, tender & juicy inside.

Easy as that.  Place hot dogs in crockpot.  Cover.  Cook.


I’m sure there are some of you out there thinking this is not a classy recipe.  It isn’t.  But it’s a great one when you have a bunch of people needing a hot meal - summer or winter.  

I was in charge of my mother’s family reunion a few weeks ago - and I was supposed to come up with something warm for a main dish.  It had been raining, and nobody wanted to barbecue.  Most of us had had pulled pork WAAAAYYYY too many times this summer.  Pulled pork has been the standby picnic food for so long I can’t remember what it replaced as a trend.  

After about an hour... they're starting to plump up.
Notice there is no liquid in the crockpot?

I had seen this idea several times on Pinterest, but I was skeptical.  I didn’t want these to resemble the “boiled in water” hot dogs from my childhood.  (The ones that split wide open when they’ve simmered too long on the stove in a pot of water).  

You'll notice there are "premium" all-beef hot dogs mixed in with the el-cheap-o chicken & pork variety.
They all turned out fabulous.  The longer you cook them, the more "BBQ-ed" they look & taste.

The verdict - a BIG success!  They were not quite like those on a grill - but not bad at all.  In fact - if you overcook them, they burn on the outside just enough to convince kids that they came from the grill.  

It’s so nice to keep them warm as well.  This method (or “recipe”) is one I will use again.  Oh... and this would be fabulous for tailgating!

For the method, go to:
www.changeabletable.com


Monday, April 29, 2013

Homemade Gnocchi


Every time I store a container of mashed potatoes in the refrigerator after Sunday dinner, I know I’m sending it to it’s death.  There are relatively few things to incorporate leftover potatoes into that get me excited.  This recipe is one that makes me look forward to hanging onto the leftovers so I have enough.


A few weeks ago, I posted the recipe for Roast Chicken Gnocchi Soup.  Since I was relatively unfamiliar with what gnocchi actually IS - I picked up a package in the pasta section at the store and used it.  It was acceptable, but not quite how I remembered the fluffy texture of the gnocchi at Olive Garden.


The use of potatoes is a recent innovation in making gnocchi - only since the 16th century when potatoes were introduced in Europe.  Leftover potatoes are great to use in Shepherd’s Pie and in Potato Rolls - but I’ve never ventured into Pierogies, Croquettes, etc...  When I learned you could use them to make your own Gnocchi - I was excited to try.  

I store my leftover mashed potatoes in baggies in my refrigerator...
Saves on space, (and I can send a bag with my college kids when they leave to go back)

There are a few tricks that certainly help.  One is to use CHILLED leftover potatoes.  Chilled potatoes use less flour - making them more fluffy when boiled.  Since cold mashed potatoes are not exactly easy to press into a measuring cup - you might try measuring them while they are still slightly warm into 2 cup portions before you refrigerate them.

Notice the pale yellow color of the potatoes?
That is how they look with the addition of an egg yolk.

Next - do not add ALL the flour at once.  Just like bread, use the smallest amount possible while still using enough to keep the dough from sticking excessively.  Gnocchi dough can be kneaded like bread dough - which gives it a smooth texture.

This dough is SUCH fun to play with.
I had to restrain myself and actually MAKE gnocchi with it.

Last - you can use a fork to press lines in the cut dough, but it’s so easy to do a little “thumb roll” down the tines of a fork to make the gnocchi have a hollow middle.  I thought it looked hard, but once I tried it - it was really fun.  I could picture doing this with my grandkids - almost like playdough.  

The easy way to shape & form gnocchi - press with the tines of a fork.

It works... but the next method is so much more satisfying.

Roll into a ball.

Press & lightly roll down the tines of your fork.

Makes a hollow little dumpling.  

Finally - use the formed gnocchi as soon as possible after making it.  Do not store it at room temperature (which I did - and it turned an unsightly “grey” color) - if you have to delay cooking it, be sure to cover it in the refrigerator.  Fresh is best.

For this (fun) method of making your own gnocchi that will RIVAL Olive Garden's - go to:
www.changeabletable.com


Wednesday, July 18, 2012

Peanut Butter Cup Brownie Bites


These little gems may not LOOK like peanut butter cups - but they sure fooled me.  Very simple ingredients (without those things you can’t pronounce) have to make these better for you than the real thing.  The one-or-two-bite size of these brownies make them a good fit for a buffet, or for finger desserts.

I made these to try on my family recently in place of brownies.  Although they aren’t in the same category as their all-time-favorite (Mint or Marshmallow Brownies - link is HERE) - it was good to get them 'out of their box' for a change. 

I could have made these from a brownie mix (which works, if you’re in a hurry) - but this recipe fills 36 mini muffin cups just right.  The fact that these are ready to serve in individual portions is a plus - great for a potluck, picnic, or even throw a few in a lunchbox.  Great to keep in the freezer too - take them out a few at a time to enjoy. 

You’ll need mini-muffin tins for these, and the only challenge might be getting them out of the pan.  Don’t wait till they are completely cool to remove.  My mistake was topping them off in the pans, which made them a bit tricky to remove (in one piece) later.

When I took a taste after they were finished, I wasn’t expecting them to take on that “Peanut Butter Cup” flavor - but the peanut butter chips, chocolate chips, and drizzled peanut butter were terrific together.  

You have lots of choices of combinations of chips.  I’m not sure they still make the peanut butter swirl chocolate chips - but they are wonderful!  I found it easy to buy the combo peanut butter & milk chocolate chips.  You can also try plain peanut butter chips and use the chocolate chips you already have on hand.

A glass of milk with one or two of these make a great chocolate/peanut butter rush.  They get softer as they age, and the flavor intensifies as well.  This is a fun, easy, bite-size alternative to cookies or brownies.

For the recipe, go to:


Wednesday, July 11, 2012

BMP (Berry/Melon/Pineapple) Smoothie


After a major Summer holiday (such as the 4th of July) - I would bet the majority of us have at least a few slices of watermelon hanging out in the refrigerator.  Combine it with two other ingredients for a fabulous smoothie that will leave you wondering “what’s in this?”  One little trick makes it even better.


My daughter Aryn introduced this (very simple) smoothie to us at our family reunion last week.  We had spent a long day playing at the lake - and we returned very sunburned, hungry, and thirsty.  

Earlier in the week, Aryn asked me to pick up just three ingredients so we could make this.  I did as she asked - and for convenience, I cubed the melon and pineapple beforehand, then stored them in ziplocs to take on our trip.  

Although I had cubed the watermelon beforehand, we used up the leftover slices of watermelon we had taken to the lake that day.  Normally it would have been long forgotten in the refrigerator after a few days.  This was a nice way to use them up and not let them go to waste.

I took along my blender (my favorite kitchen appliance lately), and it made short work of these smoothies.  Two batches fed 19 of us.  It was perfect served alongside the Cafe Rio spread she had made ahead of time (that recipe is here).  


I’ll tell you - that was a terrific meal.  It really hit the spot coming home wasted after being in the sun all day long.
No amazing photo-op... it was consumed in a flash!
Just make sure your strawberries are frozen - that’s what makes it just the right texture of ‘slushiness’ - if you know what I mean.  I guess it would still be great with fresh berries, but it was just frozen enough.  No brain freeze, not too thick, and SO refreshing!

For the recipe, go to:

Saturday, June 30, 2012

Fireworks Mix


Whenever we had to ‘wait’ for anything big (like a 4th-of-July Fireworks show) with a family of small kids - it always helped to take along snacks.  Not snacks that get sticky and make a crumbly mess - but those that held their interest and didn’t make them wired from lots of sugar.  This snack mix will do just that.


With the 4th soon upon us, I was visiting with my married kids about what to make for the little ones while we celebrate the holiday.  Kids get bored with the same thing - which is easy to buy in mega-bulk size at warehouse stores (think pretzels, goldfish, and animal crackers).  

This is what I came up with for our reunion this week.  It has lots of different items, not too much sugar, and it even has a touch of red, white, & blue to keep us patriotic.

I made a really tasty version of a sweet Chex mix which I used for variety.  I’ll post that soon...

I put all these dry snacks in a huge 2-gallon ziploc bag, then I can pour it into a big bowl and add any of the other “good” stuff (dried fruit, M & M’s, marshmallows, etc...) when we decide the grandkids (and their parents) can handle it.

So many choices out there - this can be a lot of fun.  I found the red/white/blue marshmallows & the red/white/blue M & M’s at Walmart (totally surprised!)  I had dried blueberries and cranberries already.  

This is a great combination of sweet & salty - combined with patriotic colors - any kid (or adult) will enjoy.  Break out some paper cups, sandwich bags, or some other fun container for them to have their own portion.

For the specifics & other ideas, go to:


Wednesday, June 20, 2012

Apples In A Bag


This sweet snack and/or dessert couldn’t be simpler for little hands to make.  Within five minutes, you can have a warm topping for pancakes, waffles, or cinnamon chips.  Top it with ice cream for apple pie (minus the crust)  Pop it in the refrigerator for a while if you prefer it cold.  Couldn’t be easier.


My grandchildren are all out of school for the summer, and their mothers feel that all they do is say “NO” to requests for snacks & treats.  Having a little cooking project (I’m emphasizing the word LITTLE) takes the pressure off moms to provide a healthy treat.

The hardest part of this recipe is coring the apples.  Most kids (ages 4 and older) can handle a safe vegetable peeler to peel the apple.  It may take them a while to do, but that’s the point of this activity - right?  They can then pass the apple to you to cut in quarters and core it for them.  Give the cored apple back, and (with a safe plastic vegetable knife, or dinner knife) they can cut it into slices.

Measuring the (few) ingredients into a freezer-safe ziploc bag is a math lesson too.  Zip the bag tightly closed and let them shake it till the ingredients are well mixed.

Here’s where you can let the youngest children place the sliced apples into the bag for cooking.  Have them practice counting as they go.  Now zip it closed and let everyone take a turn tossing it around till the apples are well coated.

See if you don't agree that this is a great idea to keep kids busy this summer.

For the amounts and very simple instructions - along with suggestions for how to use them once they are cooked - go to:


Monday, May 14, 2012

Summer Sliders on Homemade Buns


Summer is knocking on the door, and school will end soon.  I remember the hardest thing about having kids home for the summer was what to give the kids to replace school lunch.  These two summer slider-style sandwiches are simple to keep in the refrigerator to pull out for a quick school-style lunch.


I don’t know many people who have fond memories of school lunch, but I do remember TWO things that I loved.  One was the homemade rolls/buns/breadsticks,etc... that were probably all made from the same quantity recipe.  Somehow, heading for the lunchroom to the smell of freshly baked bread is one of my fondest memories.  The other was Tater Tots.  To this day, I still love them like a kid - and yes, I know they are NOT in any of the food groups.

These are two ground beef recipes that kids love.  A simple hamburger made with some unusual ingredients - very moist and just spicy enough.  A great sloppy joe recipe made like my mother’s - using condensed Chicken Gumbo Soup.  

Kids enjoy ‘helping’ you make their summer meals - which is a better alternative to having them whine, complain, and hang onto your legs while you try to get things ready.  These recipes are kid-friendly, and since they can help make them - they are more likely to eat them without being coerced.

Give these a try in place of the standard mac ‘n cheese or ramen - and you might be voted mom of the year.  But do it before mid-July - because after that, all bets are off.

For the recipe(s), go to:

Wednesday, May 9, 2012

FAST In the Blender Salad


This isn’t the classiest recipe title, but nothing describes it better.  If you find you need a (set) salad in a very short amount of time - this will serve you well.  It doesn’t win any awards for being striking and unusual. However, you can garnish it with just about any fresh fruit and it will stay in the background & taste terrific.  We’ve always loved it plain.


I’m posting this at the request of my children.  They think I should share some of our old-timers - those that are not necessarily worthy of a cookbook, but that they survived on as children.  Isn’t it interesting how those ‘boring’ recipes can hold a place in your heart?

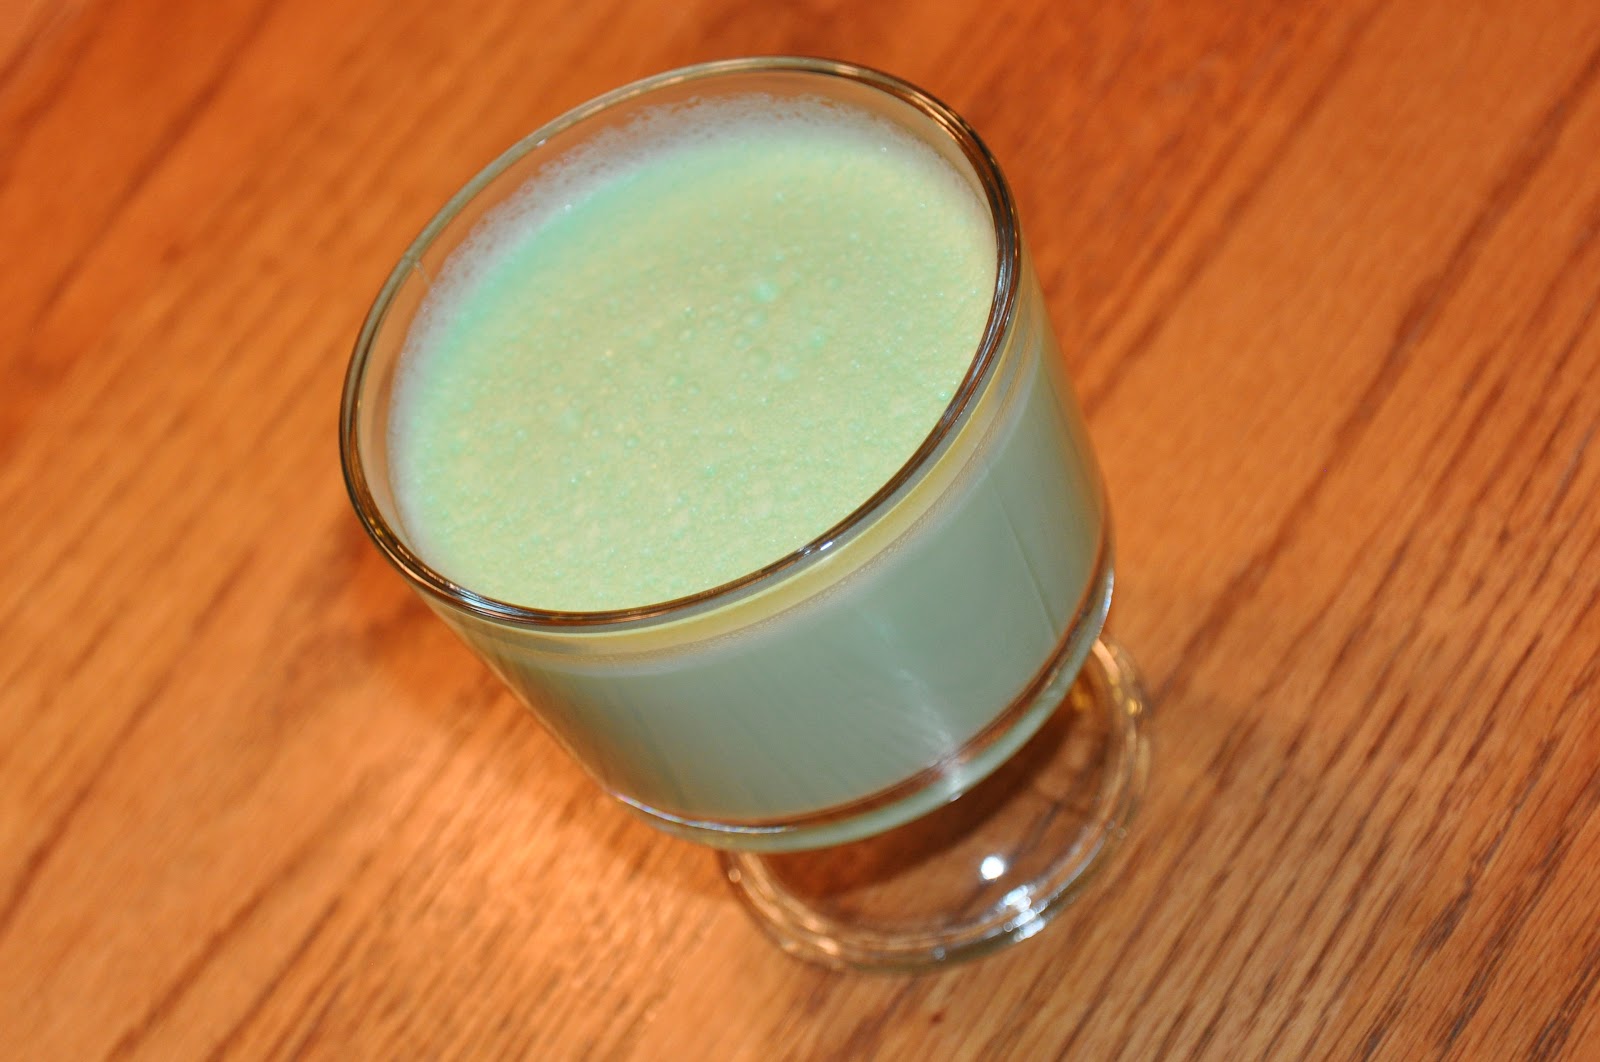
This was a go-to recipes from when my family was very young.  When my husband let me know we were having company for dinner one night, I was scrambling to find something that would be ready in less than an hour.  I had no greens for a tossed salad, so I went to the Utah stand-by... green Jello.  

I’m not sure where I found the recipe - probably in an old Jello Cookbook.  But it’s been a favorite of all my kids as they grew up, and now my grandchildren love it too.  They like to shave little slices from the sides and let it melt on their tongues.  If there were leftovers, they didn’t last very long.  

I guess this would qualify for one of those “salad-desserts”.  When I was lucky just to get the main dish on the table (let alone dessert) I brought this in as dessert, and nobody flinched.  

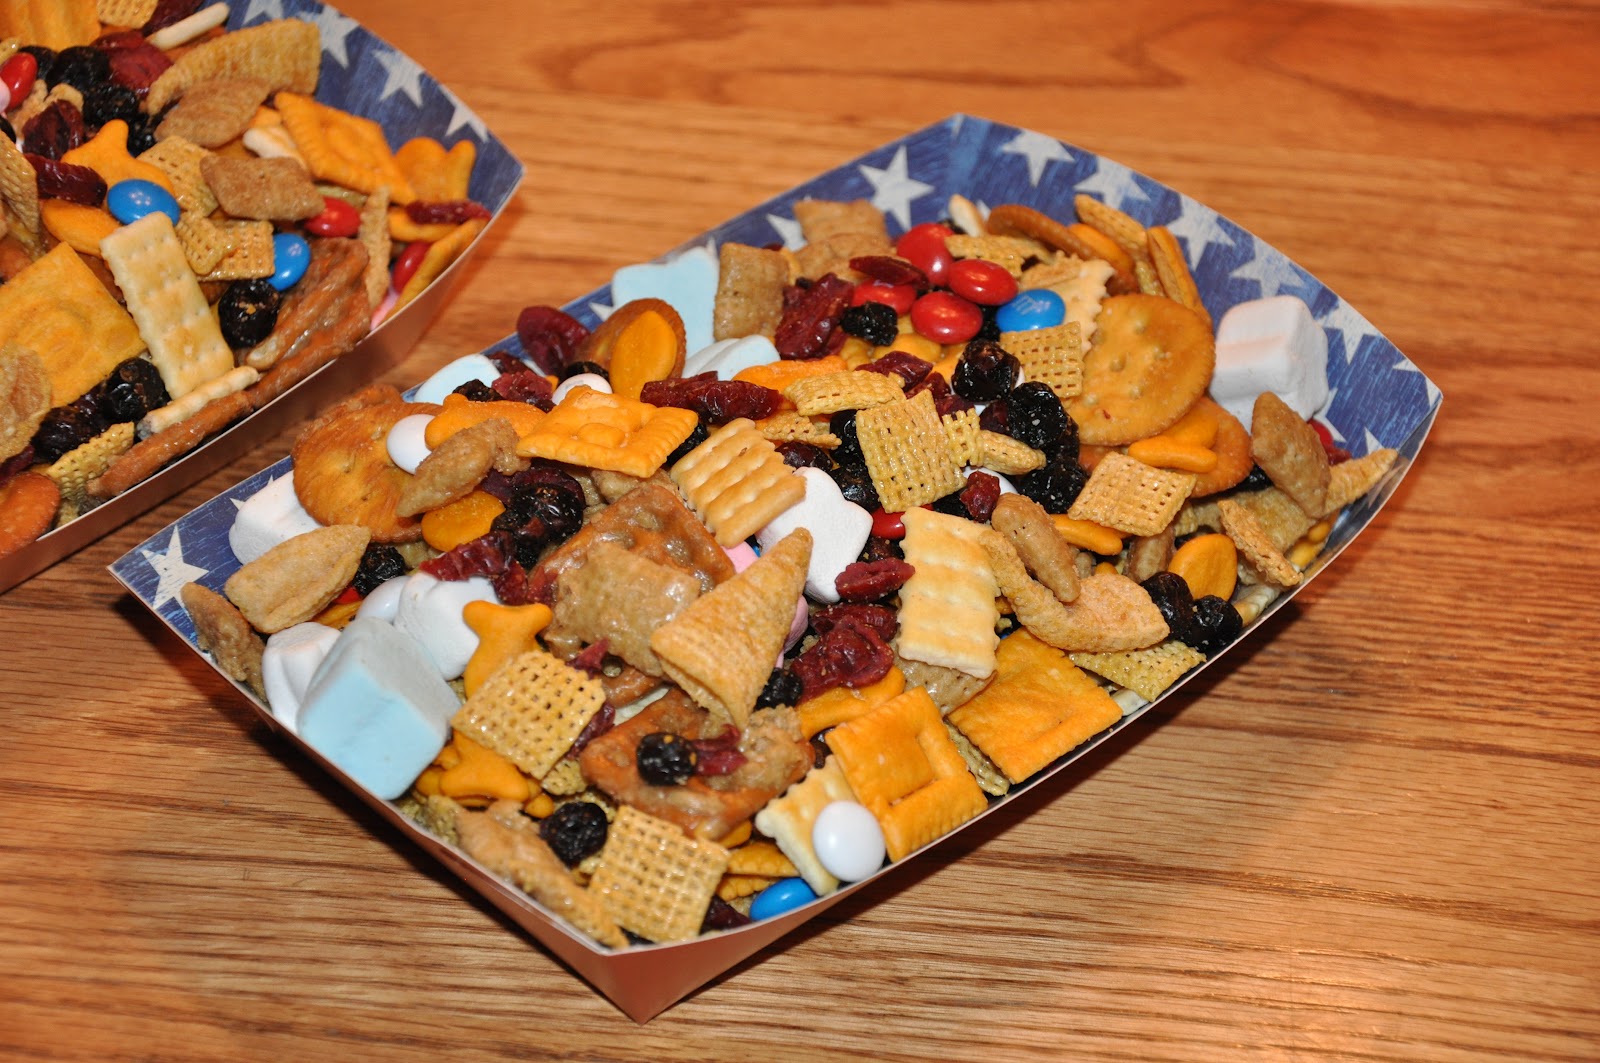
When I was asked to bring a salad kids would love, I would set this in small half-size paper cups.  It’s very pretty when poured into small, clear plastic cups.  

You can change the look by changing the flavor of jello.  And to make it for a special occasion - try serving it with a slice of pineapple, strawberry, or kiwi on top - and prop a sugar wafer cookie (on an angle) to the side.

For the (very simple!) recipe... go to: