

Showing posts with label Main Dishes. Show all posts
Showing posts with label Main Dishes. Show all posts
Saturday, August 6, 2016
Friday, October 31, 2014
Zucchini Enchiladas

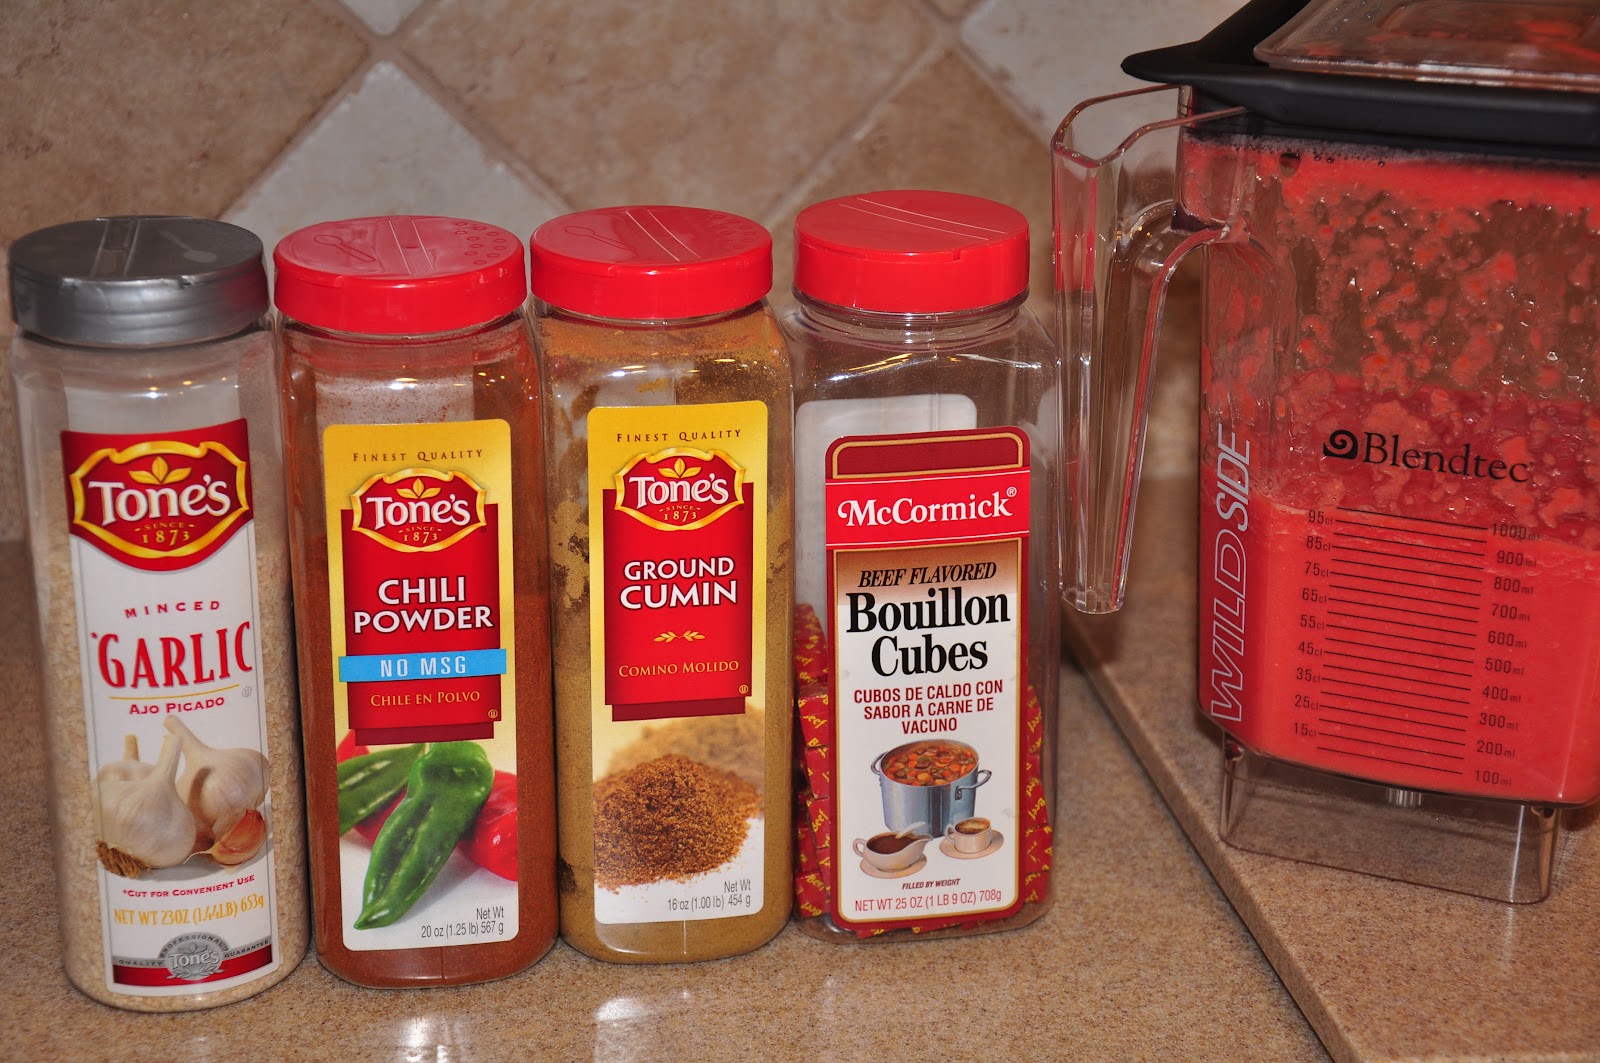
Of all the zucchini recipes I've tried, this one has to be among my favorite. I made it several times last summer. I love how the moist zucchini softens the tortillas and combines with the flavors so well. The enchilada sauce is not from a can, but is so simple to make yourself. It simmers slowly while you assemble everything, then smothers it all in a rich red sauce. (If you're serving children, you might cut down the amounts of cumin and chili powder slightly).
You could also use chicken or pork with good results. But good old ground beef couldn't be easier. I prefer flour tortillas, as they don't disintegrate as they bake. But corn tortillas work also - just lessen your baking time slightly.
Zucchini Enchiladas
Ingredients:
12 flour tortillas (or corn, if desired)
1 lb ground beef (or cooked shredded chicken, or shredded pork)
1/2 onion, diced
2-3 cups shredded zucchini
Grated cheese (I use Mexican three-cheese blend, or Colby/Jack) - use at least 1 lb, or more as desired.
Salt & pepper (and other seasoning) to taste
Enchilada Sauce:
1/2 cup vegetable or canola oil
1/4 cup flour
1/4 cup chili powder
1 15-oz can tomato sauce
3 cups chicken broth
1 tsp ground cumin
1 tsp garlic powder
1 tsp onion salt
1/2 tsp salt
Directions:
Begin with enchilada sauce:

Heat oil in saucepan, then whisk in flour and chili powder. Brown slightly, then add in tomato sauce, broth, cumin, garlic powder, onion salt, and salt. Stir until smooth and continue simmering over medium heat about 10 minutes, or until slightly thickened. Use immediately, or refrigerate up to 3 days. (Recipe from recipegirl.com) Allow sauce to stay warm as you assemble.

Brown ground beef with onion, then add zucchini and cook slightly until zucchini becomes limp. Remove meat/zucchini mixture to a strainer to allow excess moisture/fat to drain off. Season meat mixture if desired.

Pour enough enchilada sauce into baking dish to cover bottom.

Cover each tortilla with cheese, then add enough meat/zucchini mixture to cover. Roll loosely. Line up on top of enchilada sauce in baking pan, pressing them into each other so they do not collapse.


Sprinkle generously with additional cheese. Add remaining enchilada sauce, covering completely. Garnish with cilantro if desired.

Bake at 350° (UN-covered, as zucchini will keep it very moist) until bubbling and hot - at least 45 minutes for a large batch. Serve with guacamole and sour cream.


Friday, August 16, 2013
Sneaky Zucchini-sagna

I can’t figure out if I love (or resent) zucchini. Since it’s summer, and it’s taking over my house - I have to make a real effort to use it - with a thankful heart. It really is fun to have it as my houseguest for just a few months, and I’ll miss it when it’s gone. This is a result of trying to find one more way to use it up.

I’ve noticed lately when I collect zucchini out of my garden - I must be allergic to it. That beautiful, smooth, dark skin is loaded with almost invisible hairlike spines. It makes me itch to think about going out to harvest more. Then, there’s the zucchini juice that would make a great skin-tightener. Have you ever noticed how really fresh zucchini will actually COAT your skin after cutting it? In spite of all the things I dislike about it - zucchini is a great add-in to stretch your meals.


A nice texture with all the different elements going on. See if you like it as much as we do.
For the recipe, go to:
www.changeabletable.com
Monday, April 1, 2013
Chicken Alfredo Pot Pie

This recipe, though simple - will really surprise you. It’s fast, easy, and absolutely great. Haven’t found anyone who doesn’t like it (broccoli disclaimer... good luck with those who don’t love this vegetable - you could always change it to asparagus, zucchini, mixed veggies, or others). Enjoy!

I’ve spent the past week helping my daughter Whitney after the birth of their first baby, and it’s been so fun. Is there anything as beautiful as a brand new baby's feet and toes?

 |
| My 11th grandchild's name is "Kate". I've nicknamed her "CUP-Kate" - she's just delicious! |
Cooking in someone else’s kitchen is always a learning curve for me, but about the time I go home - I can empty the dishwasher and know where everything belongs.


For the simple recipe, go to:
www.changeabletable.com
Wednesday, March 20, 2013
BBQ Spareribs - Stovetop or Oven
It's been a long absence, but sometimes more important things trump blogging. My sweet mother - Leah Peacock Pendleton - passed away on February 13, 2013 after her third fight with cancer. During her 2 week hospital stay - we had some important events at my house: Baby blessing of my newest grandson, baby shower for my daughter, and eventually a funeral shortly after. A LOT of cooking went on during these past few months, and I'll get back to posting some of those great recipes soon.
 |
| My sweet mother - Leah Peacock Pendleton She would have turned 86 years old on March 30th. Her Thyroid Cancer was probably a result of watching the nuclear testing blasts from my Dad's back porch in St. George, Utah. |
I've posted many of my mother's recipes on this blog. She grew up on a farm in tiny Orangeville, Utah during the Depression and learned to make a feast out of next-to-nothing. As I've been clearing out her home to sell, it was like stepping back in time to see the special touches there.
 |
| Mom's cozy little kitchen. I did dishes in that sink (by HAND - no dishwasher) for most of my childhood. |
 |
| Mom was very organized. She inventoried EVERYTHING that she put into her storage room & freezer. |
 |
| She never wasted space. The bottles (wrapped in newspaper) were filled with water when the fruit was used. Next time she canned fruit, she emptied the water to do so. |
 |
| These bowls & casserole dishes just spell "HOME" to me. |
 |
| You could tell Mom grew up in the Depression. She washed her plastic wrap & foil - then wound the pieces around an old paper towel tube & RE-used them till they fell apart. |
This recipe is complements of my daughter Aryn. During these past very busy months, she and her sisters took over my kitchen while I took care of more pressing matters. These ribs were absolutely delicious, required no unusual ingredients, and were just the right flavor. This recipe is going to go down in history...

We had many people staying at the house during these many events - and my daughter Aryn rallied my other daughters to help put food on the table while I was at the hospital & hospice center. This was one of many great meals they made which everyone loved - just like their Grandmother's.

These ribs were fantastic. So tender, and the sauce was not overpowering at all.

After a month passed (and I was still at Mom's home boxing things up) - I tried these myself in the oven (instead of the stovetop) They were just as good, but took a little longer to slow cook.

Adding to these ribs a big pot of rice and a green salad really worked wonders during all the emotional ups and downs.
You'll find the recipe at:
www.changeabletable.com
Friday, August 31, 2012
Stacked Enchilada Dutch Oven Pie

Use your less-than-perfect garden tomatoes in an quick & easy blender enchilada sauce. That sauce will be the perfect touch to make this stacked main dish - and it’s even better in a dutch oven. Don’t worry though - no coals required. Simply bake it in your oven - turns out fabulous.

I used dutch ovens (a LOT) when I had a young family and we left late in the day to find a camping spot. I always used my own (kitchen) oven to bake a dutch oven meal, and then I’d wrap it in newspaper & blankets in a big cardboard box. We would put it in the back of the van and drive hours before arriving. After setting up the tent trailer and getting things situated - our meal was hot and ready to eat as it got dark. Good memories.


This really exceeded my expectations... An easy, one-pot meal - and uses your garden tomatoes as a bonus. You'll find the complete recipe at:
www.changeabletable.com
Monday, June 4, 2012
Creamy White Chicken & Artichoke Lasagna

This recipe was a Pinterest find - and it was really delicious. However, it’s not a STUNNER to photograph. You would just have to taste it to decide if it’s your kind of lasagna. This isn’t your standard lasagna - it’s much richer, doesn’t fall apart as you serve it, and it’s a fun blend of many different flavors.

This is a recipe you’ll find on Kraft.com - and (of course) it promotes their products. I’m a Costco/Sam’s Club fan - and so I did not purchase the shredded mozzarella with a TOUCH OF PHILLY.
 |
| Photo source: kraft.com Would using the Mozzarella Cheese w/a Touch of Philly really make it look this creamy? I'll try it next time and see... |
I’m sure the reason mine didn’t look like a slip-’n-slide was because of that. Calories, calories... Next time I’m going to try the real deal.

Another change I think I’ll make is to try diced tomatoes instead of the sun-dried tomatoes. The filling was wonderful, but it seemed a touch dry - even with all that cream cheese. Sundried tomato fanatics - go for it!

I also refrigerated mine before baking it, which always makes a difference when you bake something that starts out cold. A little more milk to thin the cream cheese/garlic/basil sauce I think will add the creaminess I think it needed.


I made this in the dead of winter - and so it was hard to find fresh basil. I found a little basil plant in the produce section that stayed good for a few weeks, although it didn’t thrive in my kitchen. Wonder how basil grows as an indoor houseplant(?) Fresh basil is always heavenly - I'll check that out for next winter.

So... would I make this again? Only when I have a small nation coming to dinner (with an appetite) - and I never know when that is.
For the original recipe, along with the changes I plan on making next time - go to:
Subscribe to:
Posts (Atom)